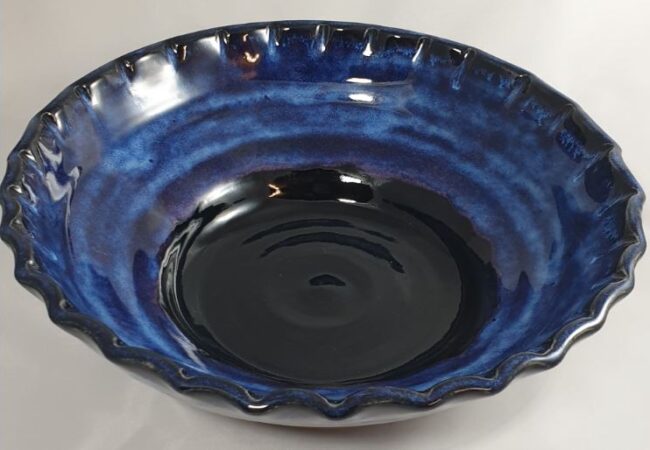
0
-
An empty cart
You have no item in your shopping cart


Clay comes directly from the ground, usually in areas where streams or rivers once flowed. It is made from minerals, plant life, and animals—all the ingredients of soil. Over time, water pressure breaks up those remains, and pulverises them into fine particles.
The clay is harvested from the ground, then is sieved to remove unwanted material such as rocks, twigs, and roots. After that it is left to dry, pulverized, sieved again, left to dry again, then slaked down in water, and finally sieved again. It is then put through a de-airing machine called a pug mill.
Removing air bubbles from the clay is an important step in the process as bubbles can cause issues such as, making it hard to centre, and hard to keep the clay centred while throwing. It can also cause issues when the piece is put into the kiln for its first firing, which transforms the clay into ceramic. Air bubbles in the clay can form air pockets within the piece, which can potentially trap moisture. If moisture is trapped within an air bubble it will turn to steam and explode out once the kiln reaches boiling temperature, ruining not only your piece, but potentially causing damage to kiln elements as well.

Wedging is the next step and it is a technique used to mix and roll the clay to make the moisture throughout the clay consistent. It also helps to ensure there are no air bubbles within the clay.
There are many ways potters can hand-wedge clay. I use two forms of wedging. One form is called Spiral wedging. That is the process of kneading the clay with a slight rotation each time I press into it, which ends up giving the clay a sort of ‘spiral’ looking effect. It is a very efficient way to achieve the goal of moisture consistency throughout the clay, while simultaneously ridding it of any trapped air.
Another form I use is often referred to as Rams head wedging because the technique often makes the clay similar in shape to a Rams head. I will typically use the Spiral wedging technique on an amount of clay 5lbs or more, and will use the Rams head method on any amount smaller.
Not all potters perform this task before throwing, but I have found that a well prepared ball of clay makes for much easier centring and forming, so this is a process I do not ever skip. It is also a good way to warm up my body before throwing, as it does take some muscle to manipulate the clay.

This is a step which can cause a lot of frustration for beginning potters, but, once you get the hang of it, it becomes second nature. Note that a well prepared ball of clay makes for much easier centring.
Centring is a technique that is hard to describe how to do, but it is absolutely an essential step of the process for forming a piece. If a ball of clay is not centred on the wheel head, it will be extremely difficult to form a piece properly.
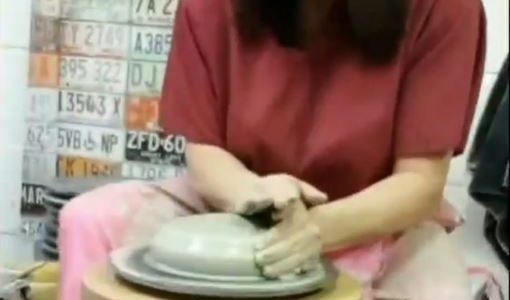
This is where your imagination is your only limit. You can make them tall, short, thin, thick, bulbous, wavy, straight, or even all of the previously mentioned on one piece! Every piece can be completely unique, or, could also be formed the same by using measurements.
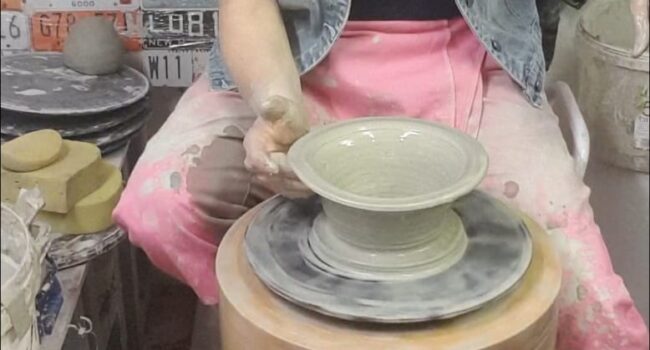
This, too, can be done a number of ways. I use a couple of different methods depending upon the size of the piece I have thrown. One method is to slide a wire or string between the very bottom of the piece and the wheel-head, being careful to keep the wire flat to the wheel, and to never allow it to lift off of the wheel-head while sliding it. If it lifts, it will cut through the base of your piece. Once cut, you dry your hands a bit, and carefully lift the piece by wrapping your hands around the base while applying upward pressure.
Another method is to slide it off using one hand to push the piece off of the wheel-head onto your other hand after you’ve cut it.
Another method is to use a batt system. A batt is a round board or piece of plastic that adheres to your wheel-head that you can remove by simply lifting if off without having to touch the piece at all. You simply lift the whole thing and place it on a ware board to dry until the piece dries enough to where it will release itself.

In order to move on to step 7 (trimming), the piece must be strong enough/dry enough to withstand some pressure without collapsing. It therefore needs some time to allow for hardening. It is important, however, to not let it dry out too much, and equally as important that it not be too wet. That sweet spot in between is called the ‘leather-hard’ stage. You want the piece to dry evenly while getting to this stage. For this reason, it is often recommended to cover the piece using plastic or a damp cloth for a day or two. This will help to ensure that the piece semi-dries evenly throughout.
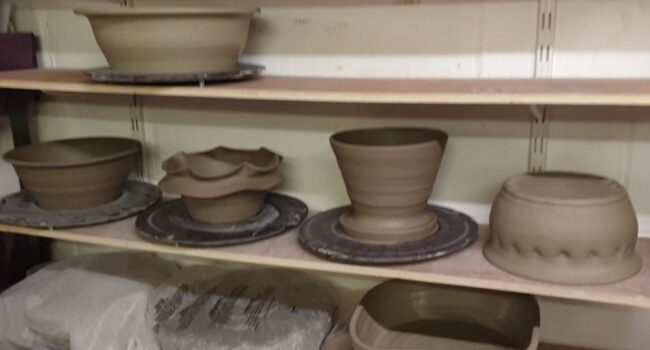
Some potters do this, some potters do not. Potters that do will very often use tools to do so. Trimming can be done on the kick wheel, or by hand. I do both. I prefer the touch of my hand on the pottery over tools, but I do place my pots on the wheel so that I can easily turn them while trimming. I very often use my thumbs to form a base or ‘foot’ on which the pot rests.

Once the piece is trimmed, I put my signature on it. Many potters use stamps to do this. I hand carve my signature onto the bottom of each piece, and often a small symbol of nature as well, such as a mountain range with birds, or a flower, or a tree… something symbolizing my love of and connection with nature.

This is the part of the process where you literally don’t do anything to the piece but allow it to dry. After it has been trimmed and signed the piece is then transferred to a ware-board where it will do nothing but sit untouched until it is completely bone dry.
At the bone dry stage the piece is extremely brittle and vulnerable to breakage so it is necessary to use a very gentle touch while handling the piece at this stage. It is crucial that the piece become bone dry before moving on to the next step as the next step involves the heat of the kiln. Any amount of moisture still held within the piece can be disastrous when the temperature of the kiln reaches boiling point. Again, this is because moisture trapped within any bubbles of the piece will turn to steam, and literally and violently ‘blow out’ of the piece when the temperature reaches boiling point.

This is the time to make sure the pieces are smooth. Any sharp points on the piece before going in to the kiln can become as sharp as glass after being fired. As the pieces are extremely brittle at the bone dry stage, a very gentle touch is needed while softening. Softening can be achieved using only your hands, a very soft sanding paper, wooden tools, etc.
Some potters skip this step all together and choose instead to sand the pieces after they’re fired and therefore more durable. As sanding the pieces puts a lot of dust into the air, which is very unhealthy to breathe in, I prefer to soften each and every piece before they go into the kiln for their first firing.
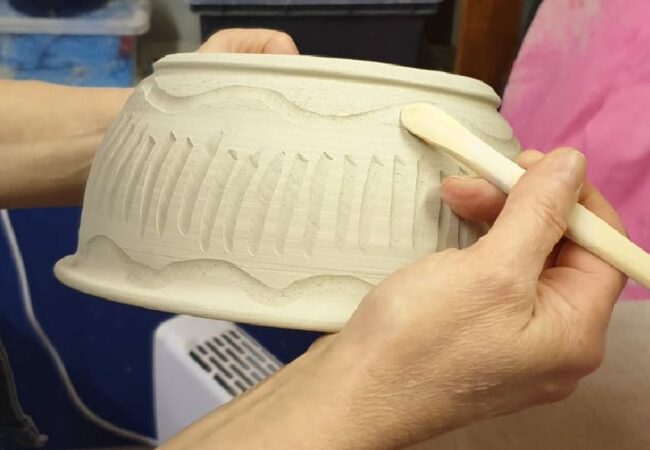
Bisque firing is the process which turns the clay into ceramic. The heat of the kiln drives out any remaining moisture and carbon from the clay, and fuses the clay particles together. Once the piece is bisque fired it becomes ceramic, but it is not yet fully vitrified. Meaning it can still absorb liquid, but it no longer can absorb enough to change its shape. I do not fully vitrify the clay at this stage because I need it to still be a bit absorbent so that I can apply my glazes.

This is the process of adding colour to the pieces. Glaze can be applied in many different ways. My preferred method of glazing is by hand using brushes, and my glazes and colours are achieved by use of earth minerals. The minerals are mixed with multiple ingredients, water being the main ingredient. As water is the main ingredient, the glaze is brushed on in liquid from, then the water absorbs into the pot leaving the earth minerals adherent to the outside.
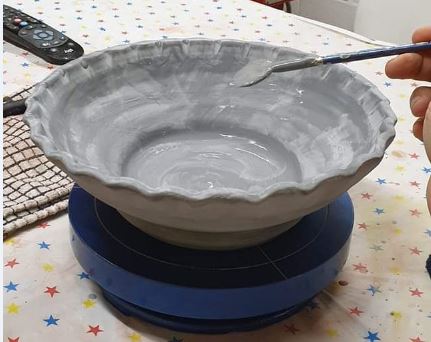
The pieces need to be fired again after the glaze is applied. This time they are fired at a higher temperature which brings out the colours of the earth minerals, and also fully vitrifies the clay making it waterproof. Something important to note is that it is not actually glaze that makes a piece waterproof, but the temperature at which the pieces are fired to.
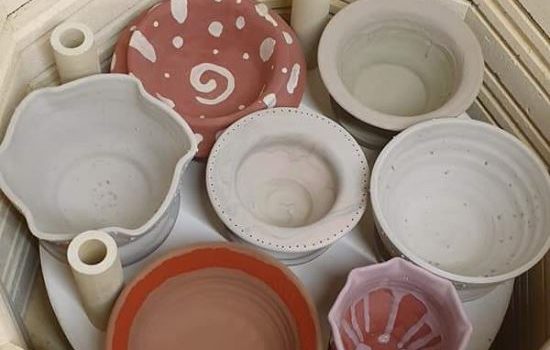
Once the pieces have fully cooled they are inspected, and any rough spots are sanded to a smooth finish. The piece is then polished, inspected again, and then they are finally ready to use!